🎛️ Mixing & Sound Design
Compression Explained Simply (For Music Producers)
A plain-English compressor guide focused on real production scenarios.
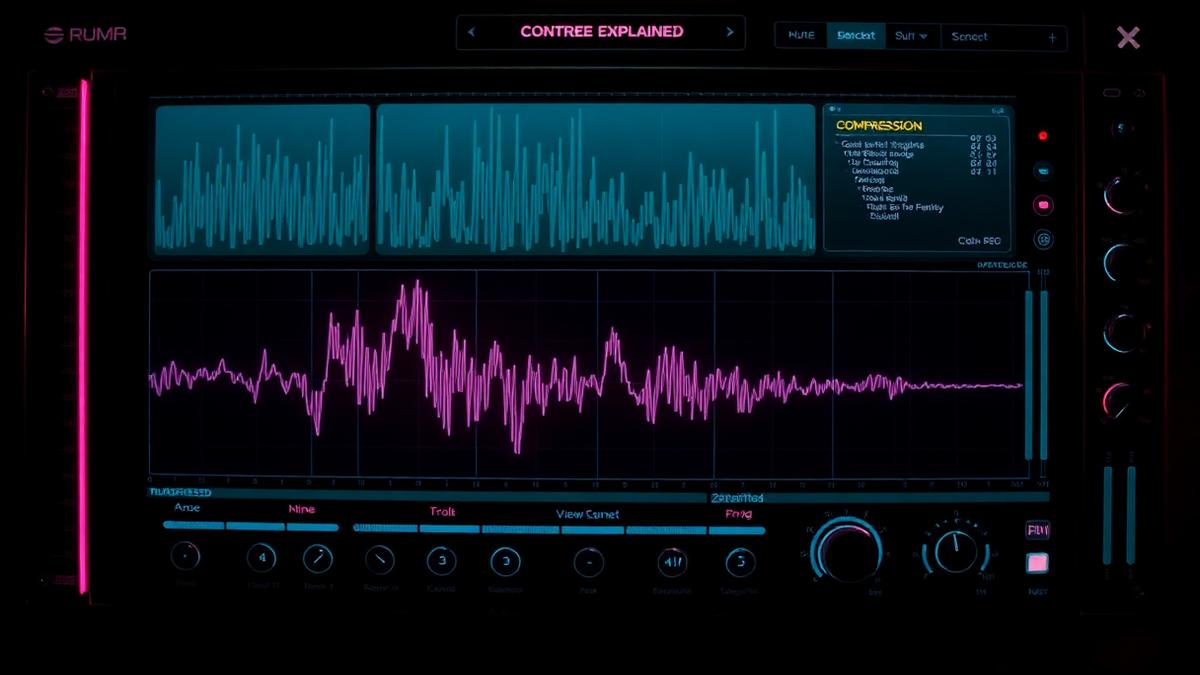
Compression controls volume movement. It can tame peaks, add punch, glue a bus together or make a sound feel closer. The trick is knowing what each control does and why you are using it.
The four controls
- Threshold: the level where compression starts.
- Ratio: how hard the compressor pushes down after the threshold.
- Attack: how quickly compression starts. Slow attack can keep punch; fast attack can control spikes.
- Release: how quickly compression lets go. This affects groove and movement.
What compression actually sounds like
Light compression sounds like control. Heavy compression sounds like movement, thickness or pumping. Bad compression sounds smaller, duller and less alive. Always level-match before deciding if a setting is better.
Common uses
- Kick: medium attack, medium release, only a few dB of gain reduction.
- Vocal: faster attack, release that returns before the next phrase.
- Drum bus: slower attack to keep transients, release timed to the groove.
- Bass: moderate ratio for consistent low end.
- Mix bus: very light gain reduction for glue, not loudness.
A beginner-safe workflow
- Set the ratio around 3:1 or 4:1.
- Lower the threshold until you see 2–4 dB of gain reduction.
- Adjust attack until the punch feels right.
- Adjust release until the compressor moves with the groove.
- Match output volume and bypass to check if it actually improved the sound.
If the sound gets smaller, duller or less groovy, the compressor is probably working too hard.
Keep reading

Mixing & Sound Design
How to Fix a Muddy Mix (5 Fast Moves That Actually Work)
Mud usually lives in one frequency range and three production habits. Fix both and your mix opens up immediately.

Mixing & Sound Design
How to Make Your Mix Wider (Without Killing Mono)
A wide mix is created with arrangement and panning, not just plugins. Here are the six moves that work in any genre.

Mixing & Sound Design
How to Use EQ Properly (The 4 Moves That Matter)
Forget 50 EQ tricks. Master these four moves and your mixes will already sound better than 90% of bedroom producers'.